Kenworth Heater Box Guide
Kenworth Heater Box Removal and Installation: A Step-by-Step Guide
INSTALLING THE STAINLESS-STEEL
Experience Improved Performance with Our Product,
Designed for Durability and Efficiency.
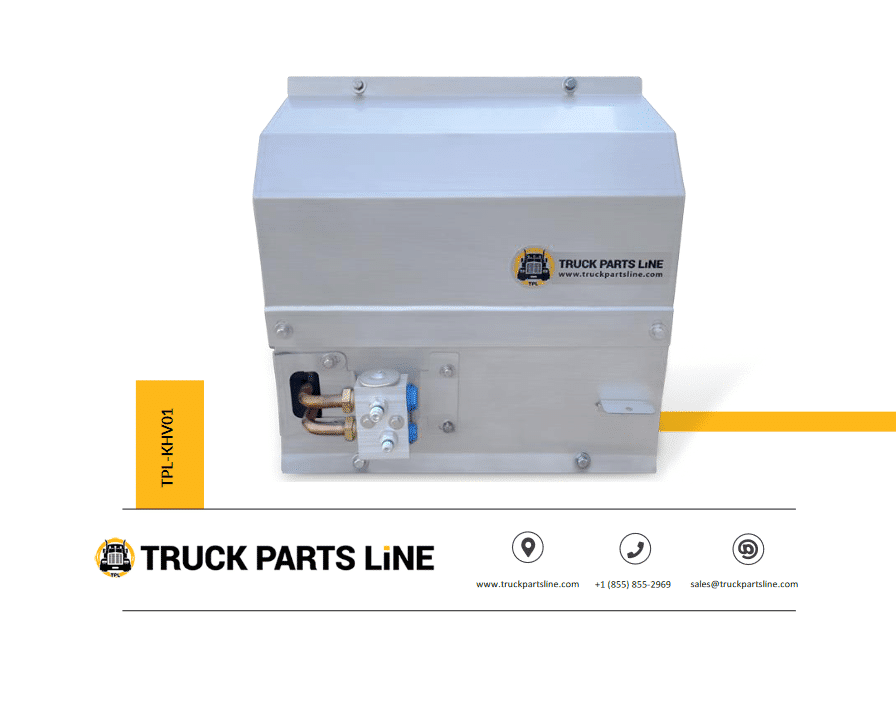
DOWNLOAD PDF
Table of Contents
- Customer Support Information
Should you require any assistance, feel free to reach out to us on weekdays from 8 AM-5 PM PST at +1 (855) 855-2969 or email your queries to support@truckpartsline.com.
We offer a standard 1 Year warranty on all parts and a lifetime rust-free warranty for the outer box
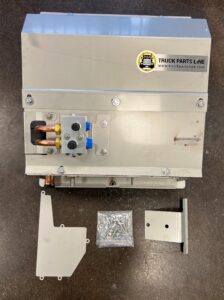
Display of Installation Hardware
Section 1:
Dismantling the Pre-existing AC/Heater Box
Detailed Disassembly Instructions
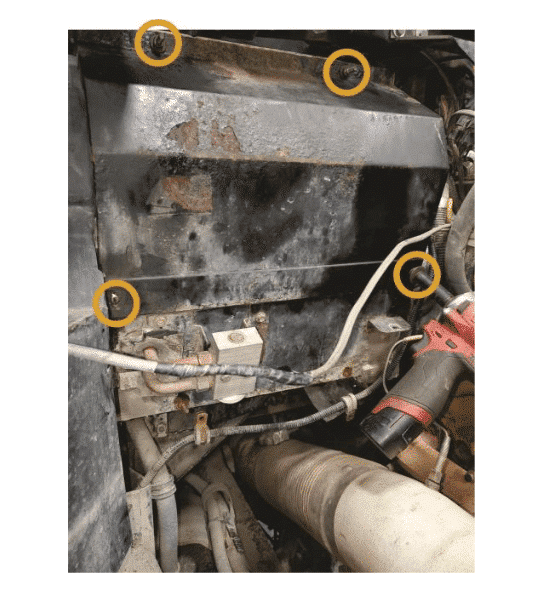
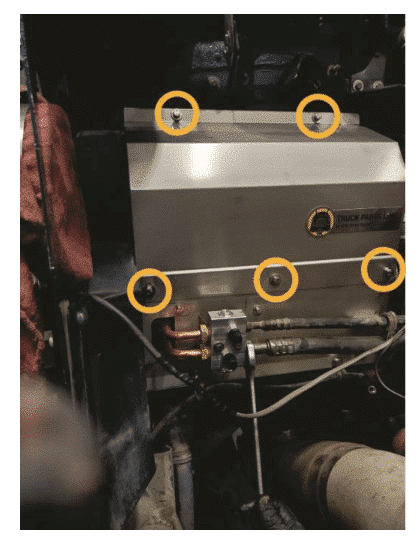
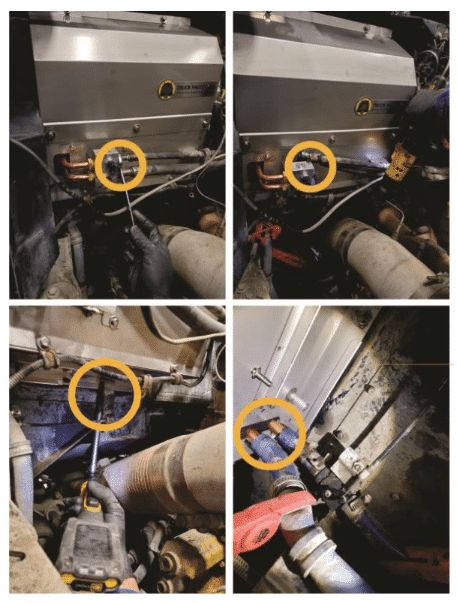
1- Start by removing the four 10mm bolts from the existing heater box cover.
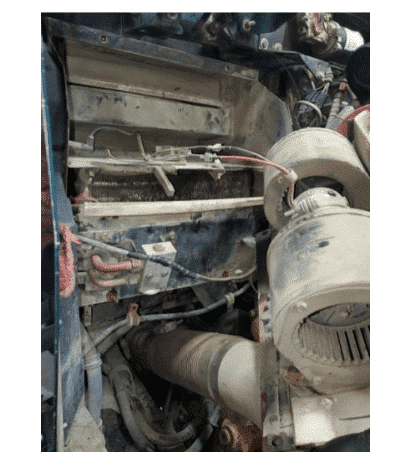
2- Proceed to detach the blower cover.
3- Unfasten the blower motor from the wiring harness.
4- Remove the pair of 8mm nuts from the freeze switch.
5- Unscrew the three Philips screws from the recirculation door actuator.
(Note: This step might slightly differ if your truck uses an air-operated actuator.)

6- Extract the baffle plate.
7- Detach the two coolant lines that connect to the heater core. Use hose clamps or hose clamp pliers to avoid coolant loss.
8- Take off the bracket that fastens the mixing valve cable to the heater box.
9- Proceed to strip all the remaining components from the exterior of the heater box.
10- Unfasten the lower cover.
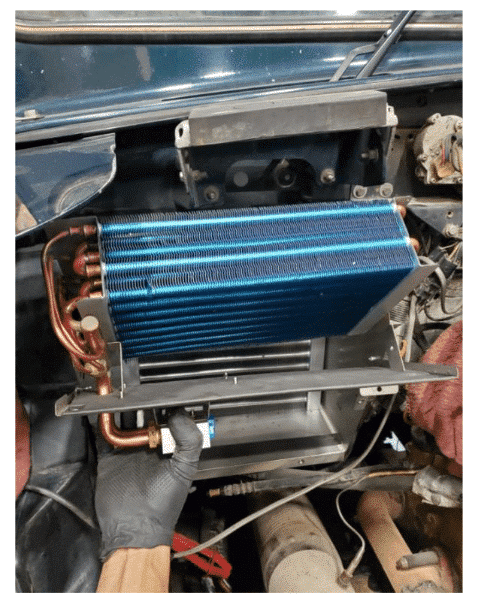
11- Extract the evaporator coil and heater core.
12- Grind the top two mounting bolts off.
13- Start the interior removal. In this T800, we unscrewed three Phillips head screws from the passenger side kick panel.
14- For this T800, four caps were concealing four Phillips head screws (two on each side of the console). Extract these screws and unplug the cigarette lighter to detach the center console.
15- Remove the two 13mm nuts and one 13mm bolt that secure the heater box to the firewall.
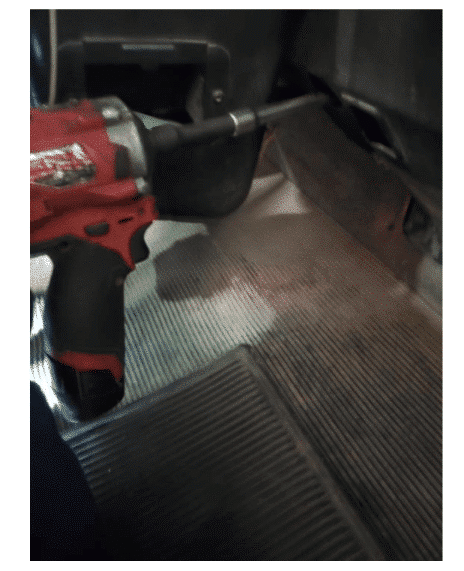
16- Detach the two nuts from the air intake shroud.
Afterwards, remove the box.
Section 2:
Preparing your New AC/Heater Box
-
-
Removal of Old Fresh Air Intake
-
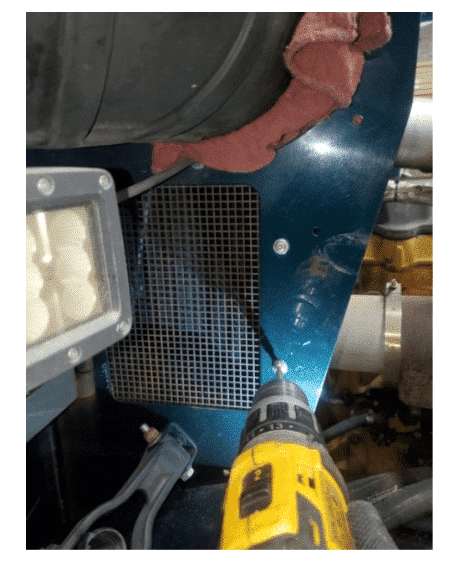
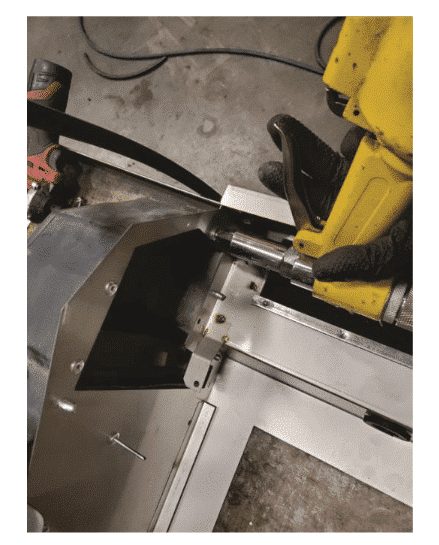
Drill out the rivets, fastening your fresh air intake to the old heater box.
-
Preparing the New Box for Installation
1- Use the provided rivets to secure the fresh air intake.
2- Install a gasket for the fresh air intake.
Section 3:
Installing your New AC/Heater Box
- Installation Steps
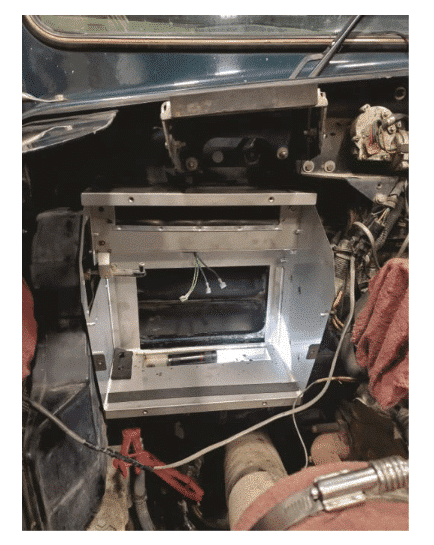
1- Initiate the installation of your new heater box. Ensure that the two bolts on the heater box align with the two holes on the firewall.
2- Secure the heater box using the provided nuts and bolts. Insert the top two bolts through the recirculation door flap.
Use a wrench on the bolt side and tighten the nuts with a ratchet.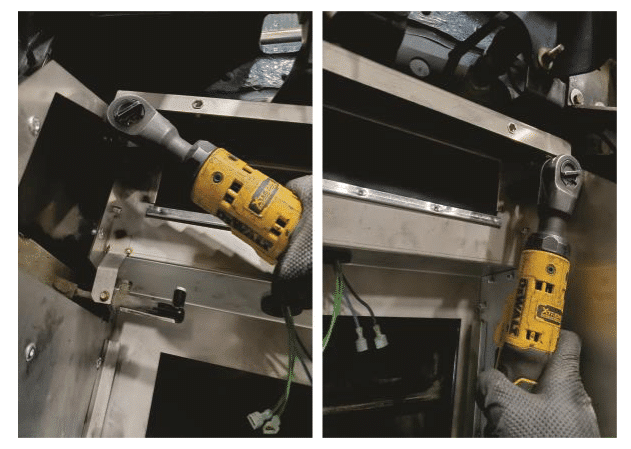
3- Reconnect the air intake to the side of the truck.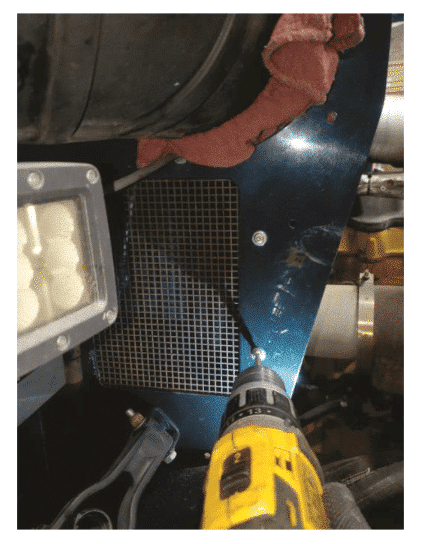
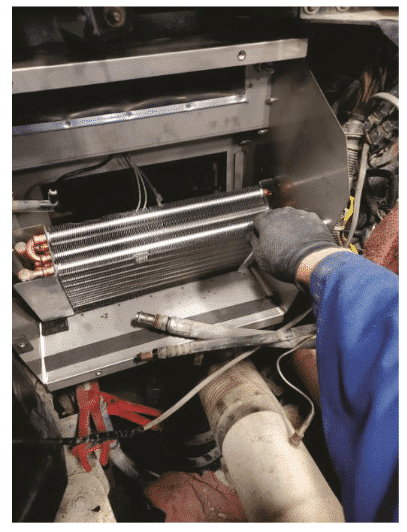
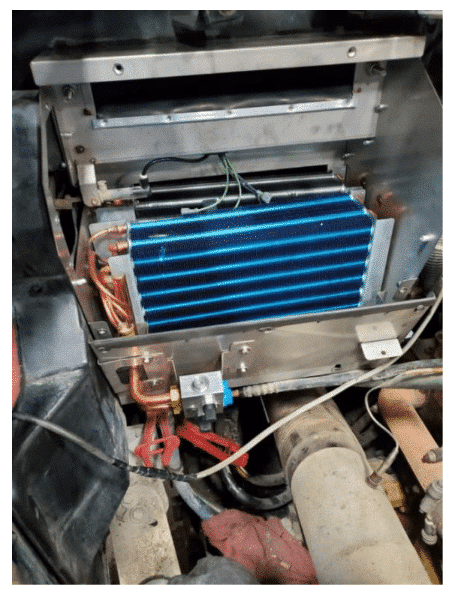
4- Install the heater core.
5- Place the evaporator coil into the heater box.
6- Attach the lower cover.
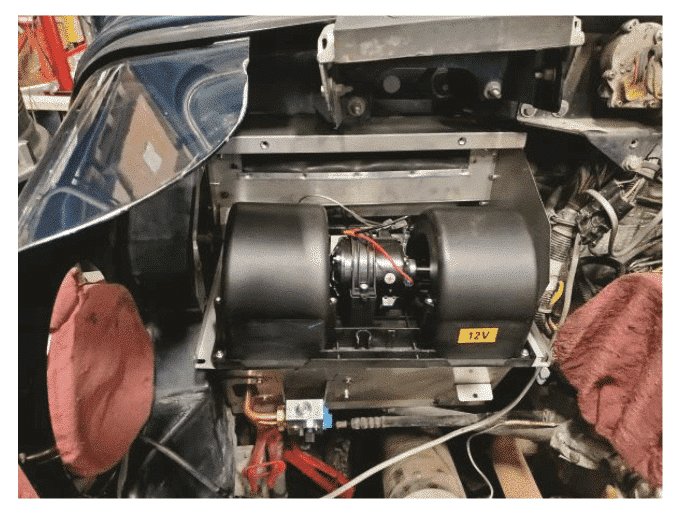
7- Install the baffle plate.
8- Install the blower motor. Connect the blower motor wiring and reattach the blower motor to the baffle plate.
9- Attach the blower motor cover using the four bolts.
10- Re-attach hoses and any other original accessories to your new stainless steel Kenworth heater box from Truck Parts Line.
Section 4:
Testing the Installation
- Ensuring Proper Functionality
– Verify the operation of the heater and air conditioner.
– Ensure all components are securely attached.
- Checking for Leaks and Connectivity
– Check for any coolant leaks.
– Ensure all electrical connections are secure.
Section 5:
Troubleshooting
-
Common Issues and Solutions
Problem: The heaters not providing enough heat
Solution: Ensure the heater core is installed correctly and there is no obstruction in the coolant lines.
Problem: Air conditioner not functioning.
Solution: Check the connection of the evaporator coil and ensure the refrigerant is charged correctly.
If you encounter issues not covered in the troubleshooting section, please contact our customer support for further assistance.
Congratulations, you have successfully installed your new Stainless Steel Kenworth AC/Heater box! Don’t forget to refill your coolant system and recharge the AC system. Enjoy your upgraded system!


